tutorial
DIY Sharpie Mug Design

One of my favorite activities from my craft party was the Sharpie mugs. These mugs are a great way to show your creative side. If you’re not so creative, it’s okay! You can just write something cute or clever. One of my favorites is “I drink coffee for your protection!” HAHA!
Anyway, in about 30 minutes, you’ll have your own custom mug. So, here’s what you’ll need:
- Sharpie marker (I bought a pack of 4 for $2 at Staples)
- a ceramic mug ($1 from the Dollar Tree)

- Preheat your oven to 350°.
- Design your mug. Just be careful because it is permanent. There are no do overs 🙂
- Once you’re satisfied with your design, bake your mug for 30 minutes.
- Allow your mug to cool.
- Use your mug for your favorite coffee or tea!
Happy Crafting!
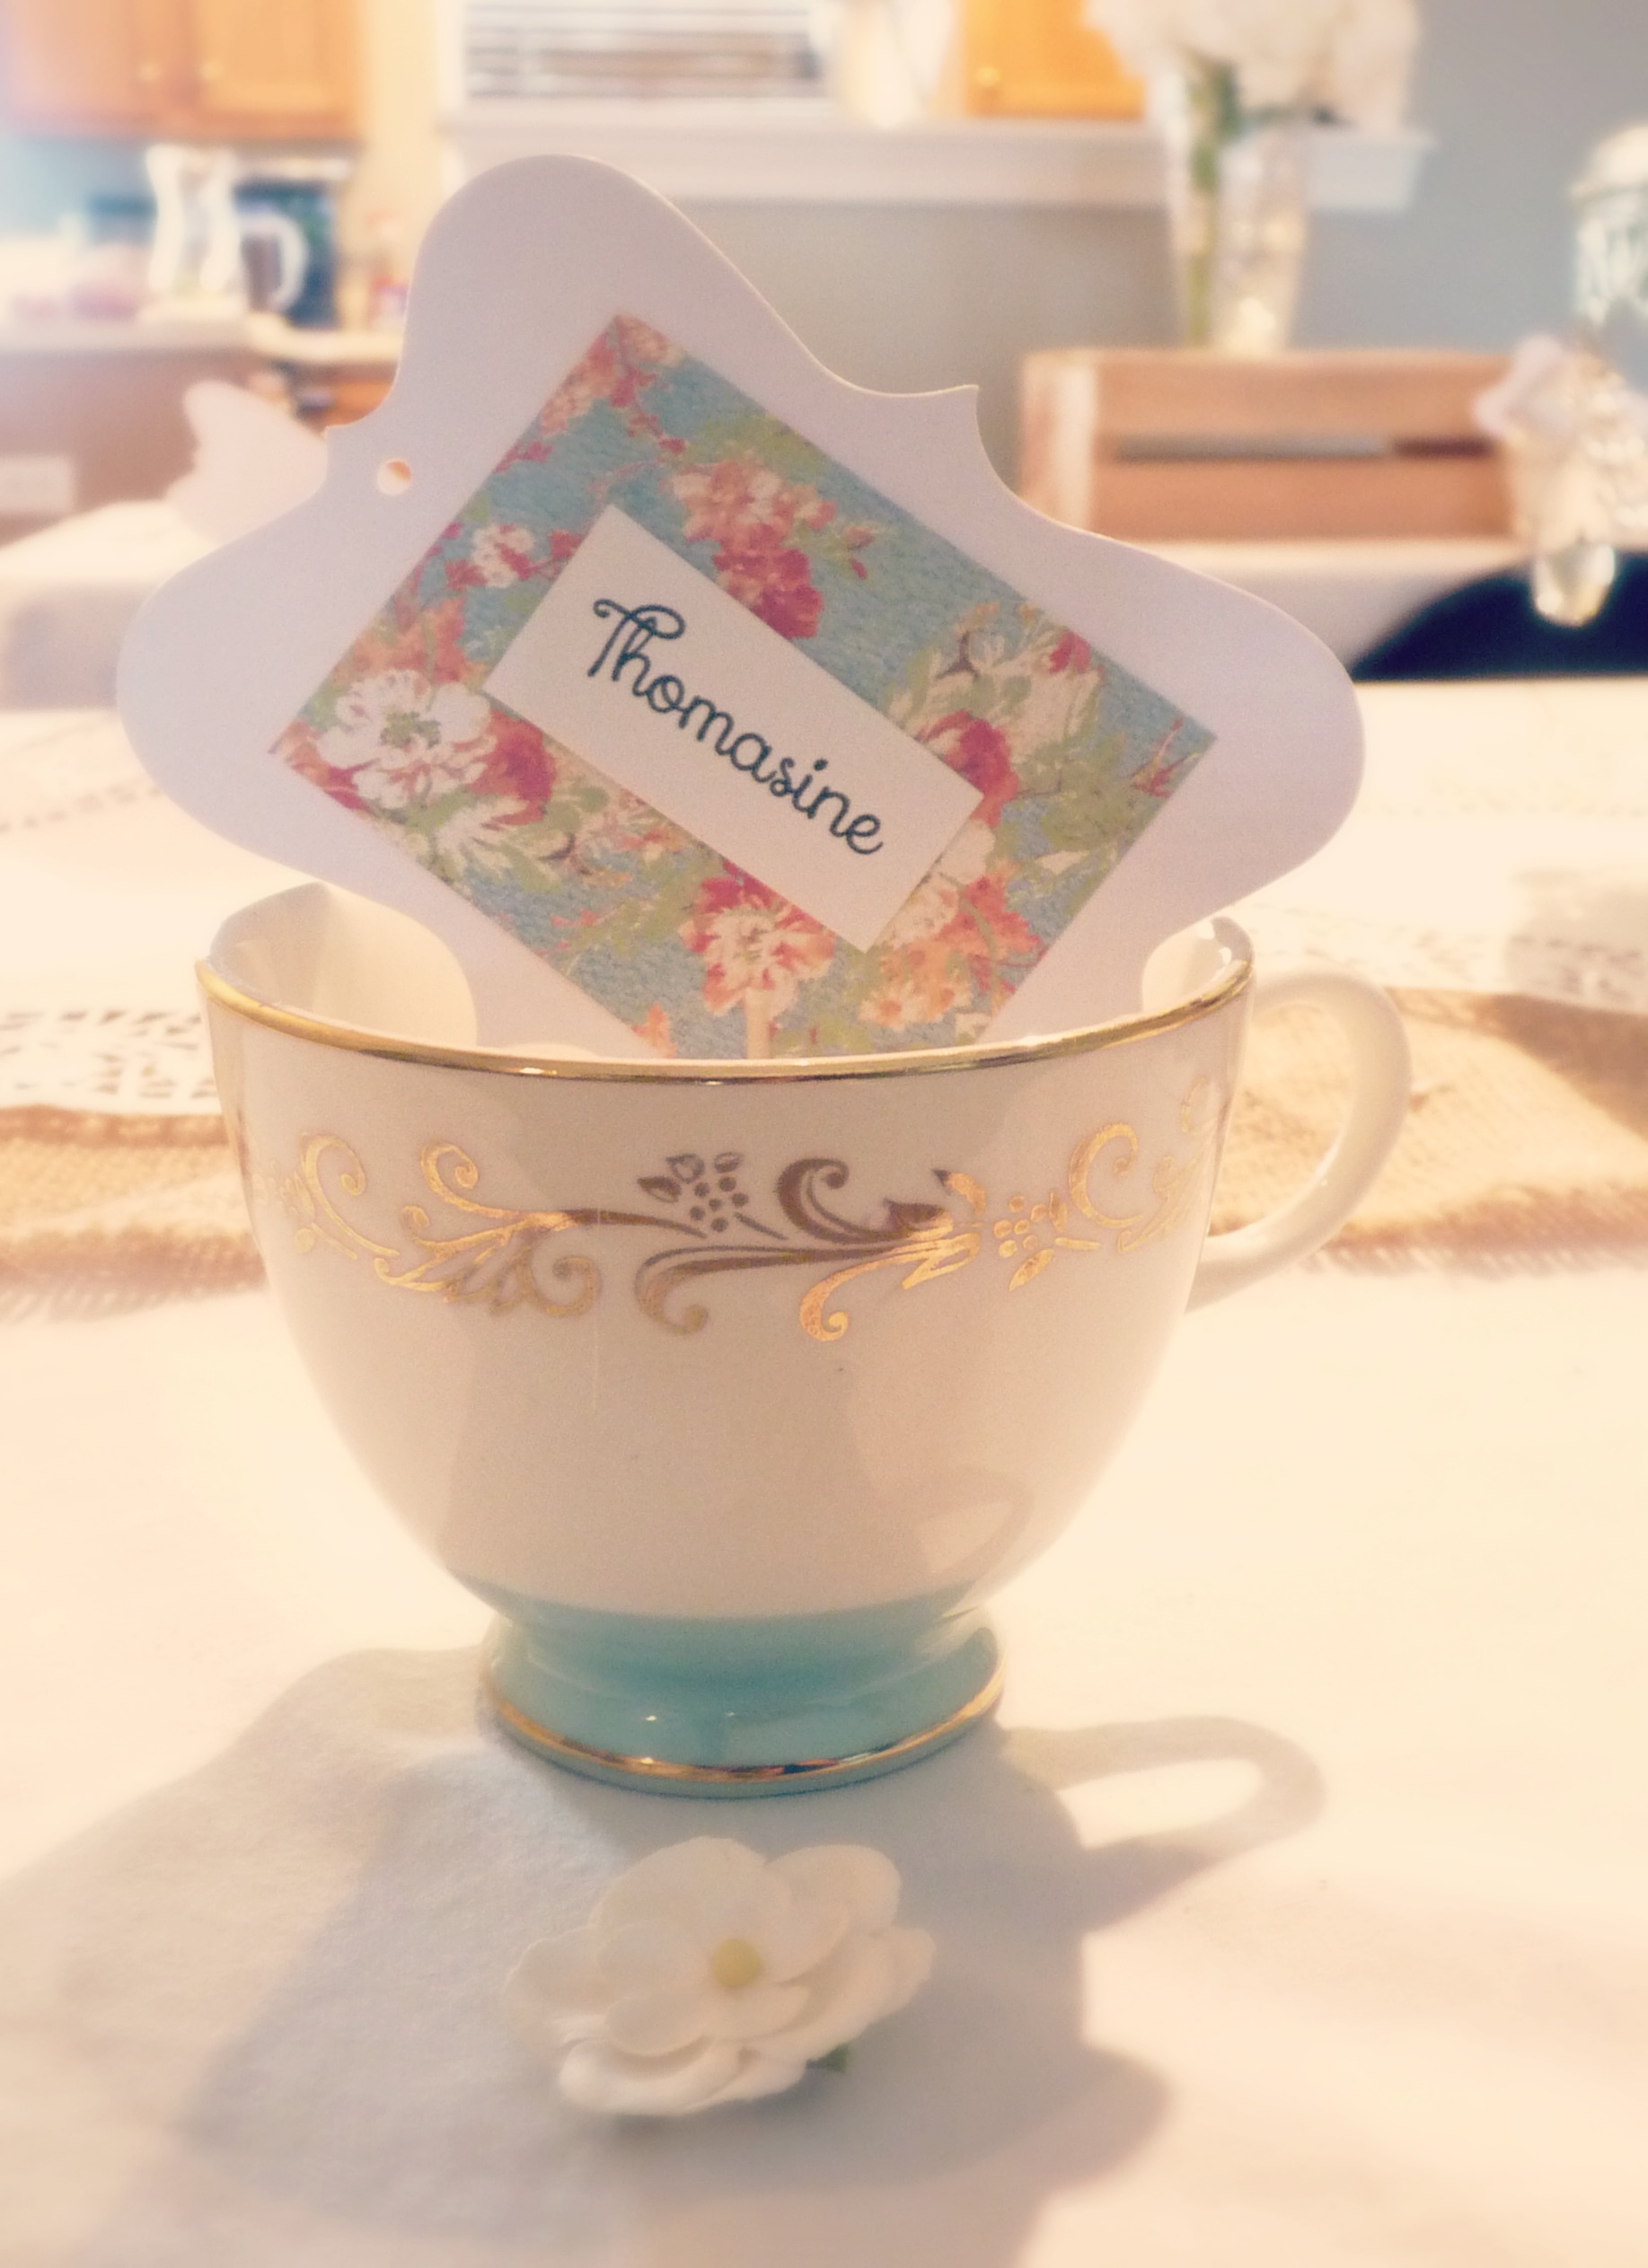
DIY Teacup Candles

I had my first craft party last night (more on that later) and it was so awesome! I gave all of the ladies these cute teacup candles. They are so easy to make and are the perfect gift. I’m thinking they would make cute favors for a bridal shower or even as decoration at a wedding reception. Now one thing about these candles…I made them from candles I already had on hand!
You’ll need:
- candles
- wick
- teacup
- 2 bamboo skewers
- tape
- pot (preferably a candle pot)
- Using old candles that you have already, coarsely chop them.
- On low heat, slowly melt the candles. I found a sugar cookie candle melt from the Dollar tree that I added in for a scent. It smelled wonderful!
- While your candles are melting, tape/hot glue the wick to the teacup.
- Tape your 2 bamboo skewers together at both ends. This will help the wick to stand up straight.
- Once your candles have completely melted, slowly pour the wax into your teacup.
- Allow the wax to firm up completely. I let mine sit overnight.
- Remove the bamboo skewers and cut the wick to desired length.

Happy Crafting!
DIY Braided t-shirt necklace and headband

Here’s another tutorial using an old t-shirt.
Here’s what you’ll need:

- an old t-shirt
- scissors
- glue gun

The steps to create this braided necklace/headband is very similar to my last post on the t-shirt necklace.
- Cut off the top and the bottom of the shirt.Cut the sirt into 9 strips.
- Pull on the strips to make them curl.
- Now here is where the necklaces differ…each strip has 2 seams. Cut them off. Take 3 strips and braid them. Continue to braid 3 strips until you have 5 braids.
- Take 3 braids and braid them together.
- Glue the ends of the large braid to the 2 smaller braids. Take an extra piece of cloth to wrap around the piece that you glued together. Glue it. Repeat this step on the other side.
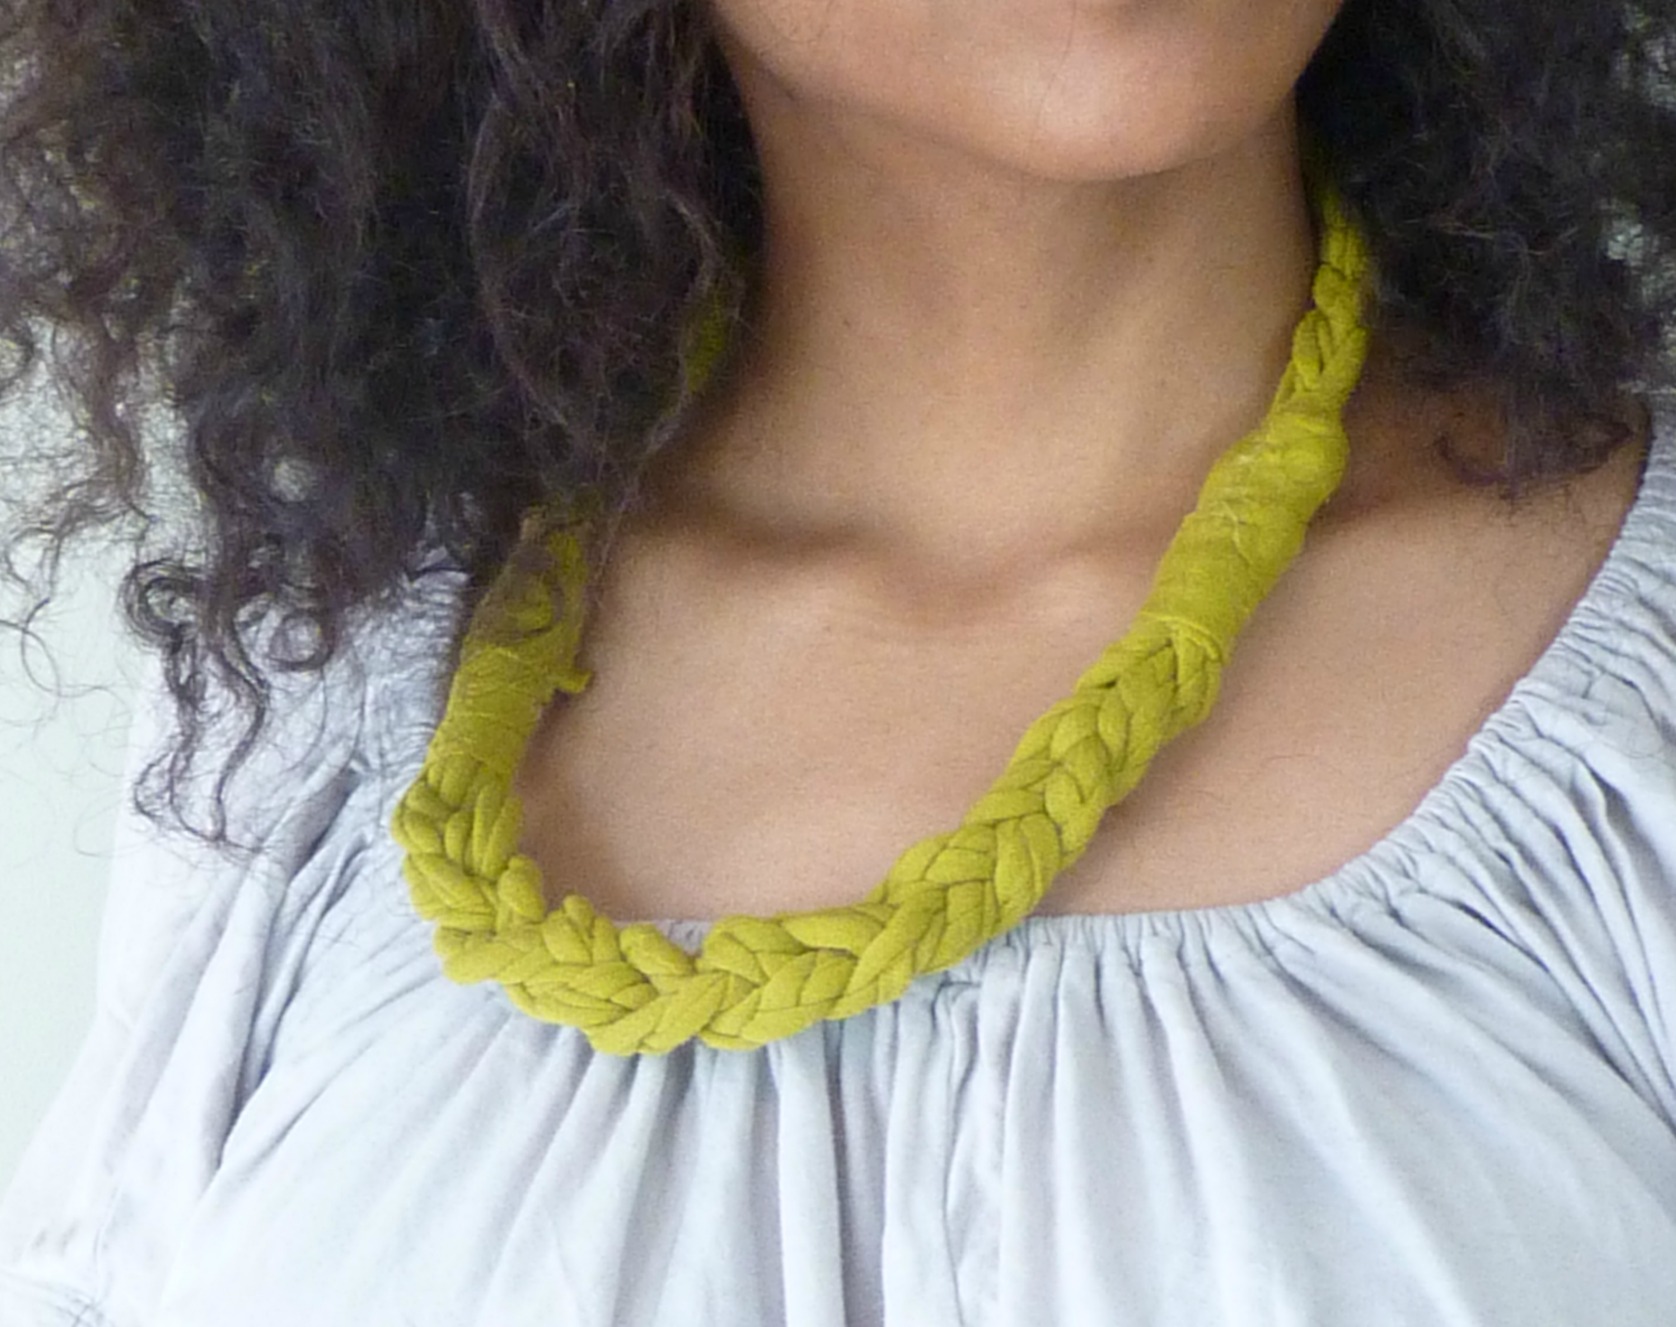
Looking back, I would have only cut the strips on one side so that my necklace would be longer. But I have many more old t-shirts. I will try it like that one day.
Happy Crafting!
DIY T-shirt necklace, scarf, and headband

Spring is almost here and I’ve already started my spring cleaning! I found a bunch of old t-shirts in a box. I’m a hoarder crafter and it just wouldn’t be right to throw those shirts away. I
Here’s what you’ll need:

- a t-shirt (old and wrinkled is just fine) – just not a cotton shirt. See that black shirt? Yeah, it didn’t work. lol
- scissors

- Cut off the top and bottom of the t-shirt.
- Cut the shirt into strips. It’s okay if your strips are not perfect.
- Pull the strips so that they curl.
- Take an extra piece of the shirt and tie it around the strips. This will create your necklace.
- To create the scarf, tie one end of the necklace into a knot.
- To create the headband, using the scraf, place it on your head and tie it snuggly.
Making this necklace/scarf/headband was so easy. It took less than 10 minutes. What an inexpensive way to add some accessories to your wardrobe. I spent $0 to make this!
Happy Crafting!
DIY Scarf Organizer

I know winter is almost over, but I love scarves! As the weather gets warmer, I start wearing my scarves on my head. But my issue is that all of my scarves are jumbled up in my closet. So, today’s tutorial is for an organizer to hold all of your scarves. I already had all of the materials needed for this project. Yay! But you can buy a pack of hangers and shower rings from the Dollar Tree for $2.

Here’s what you’ll need:
- a clothes hanger
- shower curtain rings
- tape

- Tape one ring to the bottom of the hanger.
- Tape a second ring to the hanger. Be sure to tape the two rings together as well.
- Repeat steps 1 and 2 until you have as many rings as you need.
- Hang/tie your scarves to the hanger.
Happy Crafting!
It’s time to get crafty – Friday Feature

I absolutely love crafting and creating new things. More importantly, I love showing off what I’ve created. So, now it’s your turn to show off your crafts! Every Friday, I will be featuring crafters and their crafts in my new section – Friday Features. If you are interested in showcasing your crafts (or whatever it is that you do…bake, design clothes, create art, etc.), email me at thecraftcomplex@gmail.com.
Peace, Love, and Crafts!
Easy and Simple Retro Hairstyles


I love retro hairstyles. They are so easy to create yet very cute. So, here’s two styles that work on curly or straight hair.
 You’ll need bobby pins and a hair band.

The night before, I used Curlformers to create a more defined curl. While I love my Curlformers, sometimes they can look a little Shirley Temple-like (nothing’s wrong with Shirley if that’s the look you’re going for). To stretch my curls, I wrap the ringlets around my head (as if I were wrapping my hair) and pin with a bobby pin.
Step 1: Separate hair into two sections and tie the top section out of the way.
Step 2: Roll/tuck bottom section.
Step 3: Secure roll with bobby pins.
Step 4: Part hair on the side. Leaving a small section from the front (crown) out, roll/tuck top section.
Step 5: Secure roll with bobby pins.
Srep 6: Take strands from the front section and drape across forehead and pin in place. Continue doing this until all the curls are pinned.
I added a headbeand to give this look a little more elegance.
Here’s a modern twist on the first hairstyle.

Step 1: Part hair on the side and roll/tuck one side halfway around your head.
Step 2: Secure roll with bobby pins.
Step 3: Take strands from the front section and drape across forehead and pin in place.
Step 4: Pull on curls to stretch them. Fluff hair and pin any hair in place.
Step 5: All finished!
Let me know if you try either of these styles!
Enjoy!
DIY Newspaper Nail Art

So, the newspaper obsession continues…lol…this time with my nails. I saw a tutorial online (oops, I don’t recall where) with this super easy way to use newspaper.
Here’s what you’ll need:

- newspaper
- base coat nail polish
- nail polish
- top coat nail polish
- rubbing alcohol
- nail polish remover
- q-tip to clean up the edges

Step 1: Start with clean nails. Add a base coat.
Step 2: Paint your nails.
Step 3: Once your nails are dry, dip one nail into the rubbing alcohol.
Step 4: Take piece of newspaper and place on top of the nail. Press down for a few seconds.
Step 5: Add a top coat.
Once you have finished all of your nails, use the q-tip and remover to touch up the edges.

This was super easy to do. I am a little impatient…so I kind of rushed the process. Next time I will make sure to let my nails dry fully before moving on to the next step. I’m thinking this will be really cute for Valentine’s if I used a pink color. What do you think?
Enjoy!

